Cleaning Your Aquarium the Right Way: A Complete Step-by-Step Guide
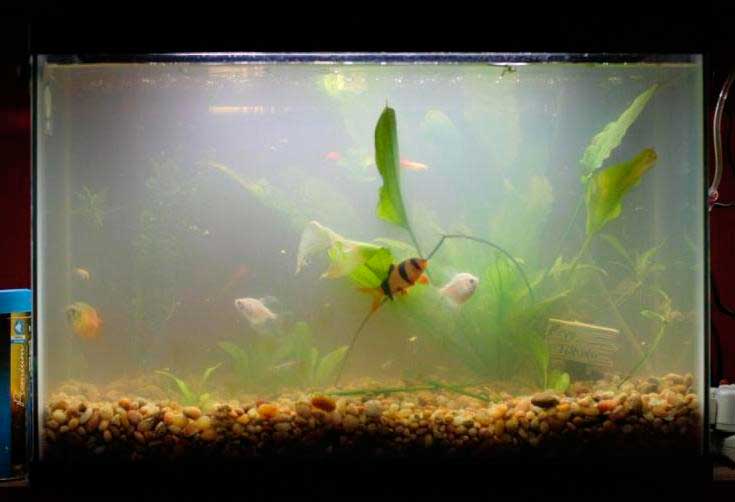
The mesmerizing underwater world inside an aquarium brings joy to anyone who gazes into it — but only when it’s properly maintained. One of the most common mistakes aquarium keepers make is either cleaning too aggressively and too often, or neglecting maintenance for weeks at a time. Both extremes are harmful. This guide will walk you through the correct way to clean your aquarium without disrupting its biological balance.
From personal experience running community tanks and planted aquariums, I can say that most water quality problems — cloudy water, algae blooms, sick fish — trace back to improper cleaning routines rather than disease or bad luck.
Why Cleaning Your Aquarium Correctly Matters
An aquarium is not just a glass box of water. It’s a living ecosystem with a biological cycle driven by beneficial bacteria that convert toxic ammonia (from fish waste and uneaten food) into less harmful nitrites and then into nitrates. Disrupting this cycle through overly aggressive cleaning — such as rinsing filter media under tap water — can crash the nitrogen cycle and lead to fish deaths within days.
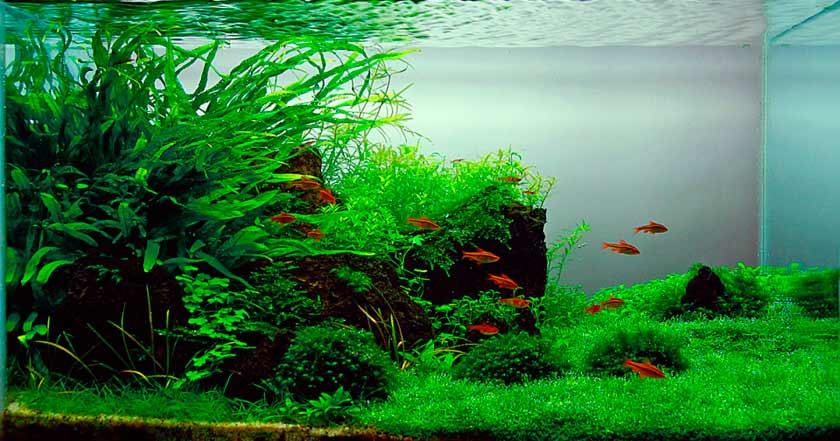
At the same time, neglecting regular maintenance allows organic waste to accumulate, oxygen levels to drop, and harmful compounds to build up. For beautiful aquascape inspiration, check out this article on aquarium interior design.
How to Clean Your Aquarium: Step-by-Step
Tools You’ll Need
Before starting, gather all your equipment:
– Glass scraper or magnetic cleaner
– New sponge (never use one that’s been in contact with soap)
– Gravel vacuum (siphon)
– Two dedicated buckets (10–15 litres each)
– Soft brush or old toothbrush for decorations
– Pre-treated or dechlorinated replacement water at the same temperature as the tank
Never use household cleaning products — even trace amounts of detergent or bleach are lethal to fish and will destroy your beneficial bacterial colony.
Step 1: Clean the Glass
Begin with the walls. Green or brown algae coating the glass is usually a sign of excess light or nutrients. Use a magnetic scraper or soft sponge with smooth, top-to-bottom strokes. For acrylic tanks, use only soft pads — metal blades will scratch the surface permanently.
Step 2: Vacuum the Substrate
Drain approximately one-third of the tank water into a bucket, then use a gravel vacuum to siphon the substrate. Gently press the siphon head into the gravel and move it slowly across the bottom — fish waste, uneaten food, and decomposing plant matter will be drawn up through the tube. If small gas bubbles appear when you disturb the gravel, it’s a clear sign the substrate needs cleaning.
Be careful around rooted plants — vigorous siphoning can damage their root systems and cause them to die back.
Step 3: Trim and Clean Plants
Remove dead, yellowing, or decaying leaves with sharp scissors using slow, smooth movements. Remove the trimmings from the tank immediately — decomposing plant matter releases ammonia and nutrients that feed algae. Dark fuzzy algae (black beard algae) growing on leaves is a sign of CO₂ imbalance or excess phosphates.
Step 4: Rinse the Filter — Correctly
This step is where most beginners make a critical error. Never rinse filter sponges or biological media under tap water. The chlorine in tap water kills the beneficial nitrifying bacteria that keep your water safe. Instead, rinse filter media gently in a bucket of water taken from the tank itself. Squeeze the sponge lightly to remove solid waste while preserving the bacterial colony.
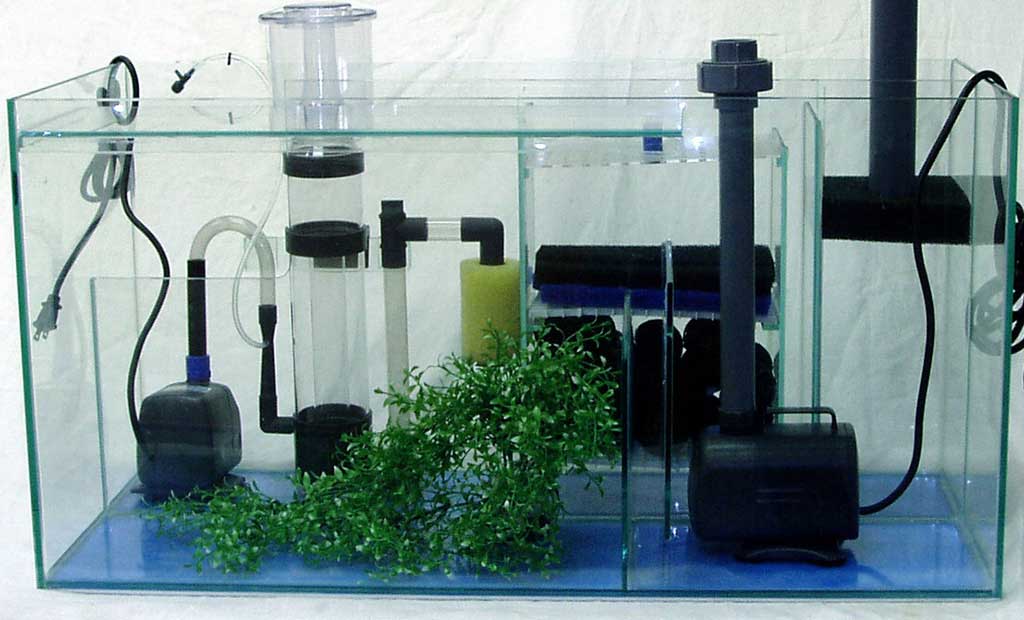
Once a month, disassemble the filter completely, clean the impeller and housing, and inspect all tubing. Replace filter media gradually — never change everything at once. For more on choosing the right filtration, see this article on aquarium ozonation.
Step 5: Clean Decorations
Remove ornaments and rinse them under running water with a stiff brush. No soap or chemicals. If dark or brown algae resist scrubbing, soak the decoration in a dilute hydrogen peroxide solution for 10–15 minutes, then rinse thoroughly before returning it to the tank.
Step 6: Top Up With Fresh Water
Always use pre-treated water — either dechlorinated tap water or water that has been left to stand for at least 24 hours. Match the temperature of the replacement water as closely as possible to the tank temperature. A sudden temperature drop stresses fish and weakens their immune systems. For healthy fish like Aulonocara nyassae, stable parameters are especially important.
Aquarium Cleaning Schedule: Reference Table
| Task | Frequency | Notes |
|---|---|---|
| Water change | Weekly | 20–30% of total volume |
| Glass cleaning | As needed | When algae visible |
| Substrate vacuuming | Every 1–2 weeks | Cover one-third of floor per session |
| Filter sponge rinse | Every 2–4 weeks | In tank water only |
| Full filter service | Monthly | Disassemble and clean impeller |
| Decoration cleaning | Monthly | No chemicals |
| Full water replacement | Not recommended | Destroys biological cycle |
Key Tips From Experience
- Never do everything at once. Cleaning the filter, doing a large water change, and vacuuming the entire substrate on the same day can collapse your nitrogen cycle.
- Trust your nose. A healthy tank smells fresh and clean. Sulphur, rotten, or sour odours indicate decomposing matter or anaerobic zones in the substrate.
- Keep a maintenance log. A simple notebook helps you track cleaning dates and spot patterns when problems arise.
- According to Practical Fishkeeping, the leading cause of fish loss in home aquaria is water chemistry failure — most often caused by inconsistent or incorrect cleaning.
- The experts at Aquatic Community consistently recommend the principle: clean regularly, but don’t over-clean. Stability is more important than sterility.
- If you keep a species like chocolate-blue lamprologus, be aware that cichlids and other digging fish can churn up substrate quickly, requiring more frequent gravel vacuuming.
FAQ: Aquarium Cleaning Questions Answered
❓ How often should I clean my aquarium?
For most community tanks: weekly 20–30% water changes, substrate vacuuming every 1–2 weeks, filter media rinse every 2–4 weeks, full filter service monthly. Adjust based on stocking density and feeding habits.
❓ Can I use soap or bleach to clean my tank?
No. Even trace residues of household cleaners are toxic to fish and will destroy your biological filter. For disinfection when restarting a tank, diluted hydrogen peroxide or aquarium-specific products are safe options — followed by thorough rinsing.
❓ Do I need to remove fish while cleaning?
Not for routine maintenance. Moving fish causes significant stress and increases the risk of injury. Only remove fish for full tank restarts or when treating disease.
❓ Why does algae come back so quickly after cleaning?
Rapid algae regrowth usually indicates too much light (reduce to 8–10 hours per day), excess nutrients from overfeeding, or insufficient plant competition. Increase water change frequency and consider adding fast-growing plants.
❓ My water went cloudy after cleaning — is that normal?
Mild cloudiness for 12–24 hours after cleaning is normal as disturbed particles settle. If it persists beyond 48 hours, test for ammonia and nitrite — bacterial bloom may indicate a disrupted nitrogen cycle.
Last updated: July 07, 2026