Building Your Own Acrylic Aquarium
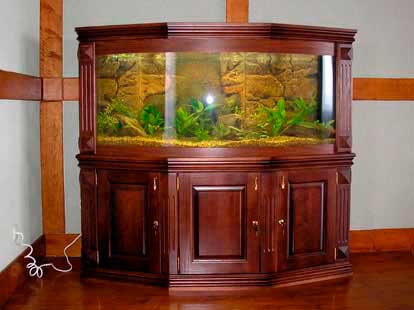
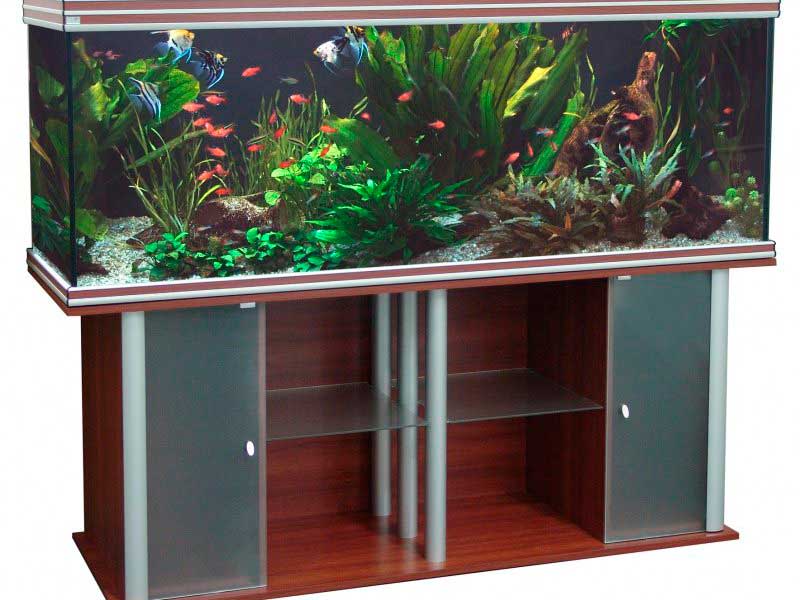
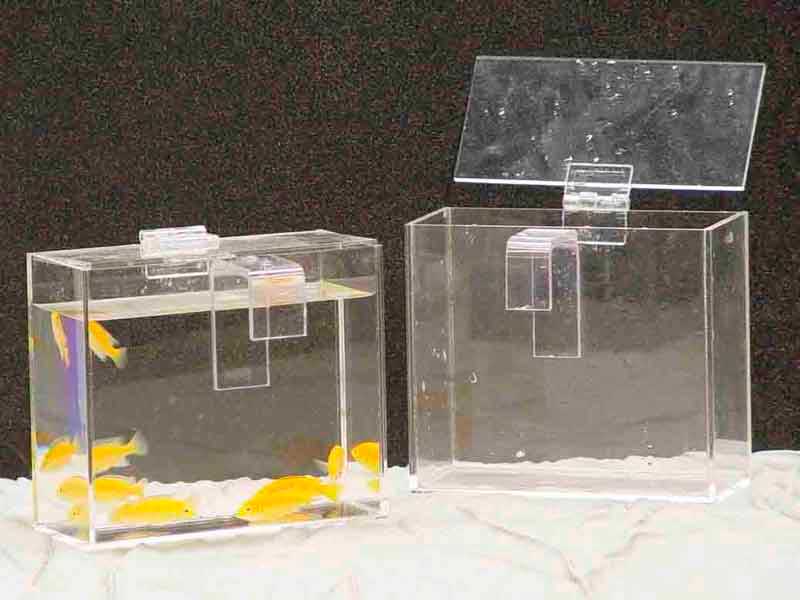
An acrylic aquarium can be crafted at home with basic skills in working with plexiglass. This easily workable material allows you to create unique designs that would be difficult with traditional glass. While acrylic makes it possible to build very large tanks, I recommend beginners start with smaller 10-20 liter (2.5-5 gallon) projects. Once you’ve gained experience, you can confidently move on to larger 200-300 liter (50-80 gallon) builds.
Advantages and Disadvantages of Acrylic
Plexiglass has specific characteristics that significantly impact aquarium construction and long-term use.
Key Benefits of the Material
Easy workability stands as the primary advantage of acrylic. You can cut, bend, sand, and glue the material at home without specialized equipment. In my experience, this makes plexiglass the ideal choice for your first DIY aquarium project.
Lightweight construction means an acrylic aquarium weighs considerably less than a glass equivalent, simplifying transportation and installation. This becomes especially important for larger tanks. When selecting a location for your aquarium in the interior, you won’t need to worry as much about furniture load capacity compared to glass constructions.
Impact resistance — when properly assembled, the structure withstands significant water pressure and proves less susceptible to damage from impacts compared to silicate glass. The material doesn’t produce sharp shards if damaged.
Design flexibility allows you to create cylindrical, corner, and other non-standard shapes. This proves particularly valuable when setting up specialized tanks for specific fish species or implementing unique design solutions.
Disadvantages to Consider
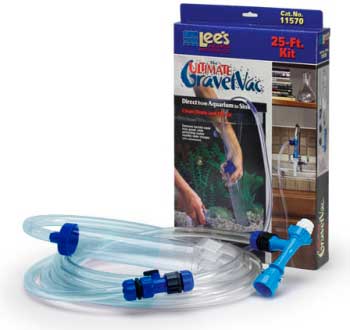
Low scratch resistance — the mirror-smooth surface scratches easily during both fabrication and regular use. Scratches and scuffs dramatically reduce optical clarity and ruin the tank’s appearance. I always work with protective film in place until final assembly and recommend using only soft sponges during routine maintenance, along with gravel vacuum cleaners equipped with plastic nozzles.
Temperature limitations — low heat capacity requires caution when using heaters and high-wattage lighting. The material begins deforming at temperatures as low as 60°C (140°F). When installing lighting, maintain a safe distance of at least 10-15 cm between lamps and the cover to prevent warping.
Tendency to cloud — over time, acrylic can lose transparency, especially under ultraviolet exposure and contact with certain chemicals. Regular maintenance and proper polishing help preserve clarity for years.
Static electricity — acrylic accumulates static charge, attracting dust and fine debris. This complicates keeping external surfaces clean.
Despite these drawbacks, carefully crafted acrylic aquariums look impressive when built with attention to technical details. When you need to quickly assemble a transport, breeding, or grow-out tank, few alternatives match acrylic’s convenience. In terms of price-quality-ease of fabrication ratio, this remains one of the best options for home craftsmen.
Choosing Acrylic Thickness

Material thickness directly affects structural strength and longevity. Incorrect selection can lead to wall deformation under water pressure or even tank failure.
| Tank Volume | Acrylic Thickness | Notes |
|---|---|---|
| Up to 30 liters (8 gal) | 4-5 mm | For breeding and fry tanks |
| 30-100 liters (8-26 gal) | 6-8 mm | Optimal for home aquariums |
| 100-200 liters (26-53 gal) | 10-12 mm | Requires reinforcing ribs |
| Over 200 liters (53+ gal) | 15-20 mm | Mandatory bracing elements |
In my experience, choosing thickness with a safety margin for your first project compensates for potential assembly errors and provides additional structural strength. For a freshwater tank of 50-70 liters (13-18 gallons), I recommend 8 mm thickness even when the table permits 6 mm.
Tools and Materials
Building an acrylic aquarium requires:
- Plexiglass sheets of appropriate thickness (cast acrylic preferred over extruded for superior strength)
- Specialized acrylic cement (dichloroethane, acrylic adhesive, or commercial products like ACRIFIX 116 or COLACRIL)
- Acrylic cutting tool or fine-tooth hacksaw
- Straight edge or metal profile for guide
- Sandpaper in various grits (P180 to P1000)
- Clamps for securing pieces
- Protective gloves and safety glasses
- Wrapping paper for surface protection
Cutting Acrylic
Making a Cutting Tool
Cutting acrylic at home works best with a specialized scoring tool, which you can make from a broken hacksaw blade. Grind the tip to a 60-degree angle on a grinding wheel. The distance from cutting edge to handle should be 40-50 mm — shorter gaps cause the tool to clog with chips, while longer distances reduce control.
Cutting Technique
Leave protective film on both sides during cutting. Mark your cutting line on the film with a marker. Secure a metal straight edge along the line using clamps. Score the acrylic multiple times with firm, even pressure — typically 8-12 passes for 5 mm material, 15-20 passes for 8 mm.
After scoring approximately half the material thickness, position the sheet so the scored line hangs over the edge of your work surface. Apply steady downward pressure to snap the piece cleanly. For thicker sheets over 10 mm, I recommend using a circular saw with a fine-tooth blade designed for plastics.
Edge Preparation
Proper edge preparation ensures strong, invisible joints. Sand all edges progressively with P180, P320, P600, and P1000 grit sandpaper. Edges must be perfectly smooth and perpendicular to the surface — any irregularities will create weak points in the glued seam.

After sanding, wipe edges with a lint-free cloth dampened with isopropyl alcohol. This removes dust and oils that would compromise adhesion. Allow surfaces to dry completely before gluing.
Assembly Process
Dry Fitting
Before applying adhesive, perform a complete dry fit. Secure panels with masking tape to verify all joints align properly. Check that corners form true 90-degree angles using a carpenter’s square. This step prevents discovering fit issues after you’ve already applied glue.
Gluing Technique

Work in a well-ventilated area — acrylic cement releases strong fumes. Apply adhesive using a syringe or applicator bottle with a fine tip. The glue should flow into the joint through capillary action, creating a chemical weld between surfaces.
Hold panels firmly together for 2-3 minutes while the solvent begins bonding. Use clamps or weights to maintain pressure, but avoid overtightening, which can stress the material. Full cure takes 24-48 hours depending on ambient temperature and humidity.
For tanks larger than 100 liters, install reinforcing ribs along the top edges. These prevent outward bowing under water pressure. I’ve found that 20-30 mm wide strips of the same thickness acrylic, glued along the upper rim, provide excellent reinforcement.
Testing and Finishing
After the adhesive fully cures, test your acrylic aquarium outdoors or in a bathtub. Fill it completely and let it stand for 24 hours, checking for leaks. Minor seepage at joints can be repaired by carefully applying additional adhesive from the inside.
Once leak-free, polish the exterior with acrylic polish to restore optical clarity. Remove protective film only after completing all construction and testing. Before introducing aquarium fish, rinse the tank thoroughly with clean water to remove any adhesive residue.
When setting up equipment like an aquarium compressor, take care not to scratch the interior surfaces. Use suction cups with soft rubber rather than hard plastic clips whenever possible.

Maintenance Considerations
Acrylic aquariums require gentler maintenance than glass tanks. Never use abrasive cleaning pads or scrapers with metal blades. Instead, use acrylic-safe algae magnets or soft sponges. For stubborn deposits, plastic razor blades designed specifically for acrylic work effectively without causing scratches.
Keep the tank away from direct sunlight, which accelerates yellowing and clouding. If you notice minor scratches developing over time, they can often be buffed out with acrylic polish and a microfiber cloth.
Building your own acrylic aquarium provides satisfaction and allows customization impossible with commercial tanks. While the process requires patience and attention to detail, the skills you develop will serve you well for future projects. Start small, master the techniques, and you’ll soon be capable of constructing impressive custom installations.
Article updated: 2026-07-13